
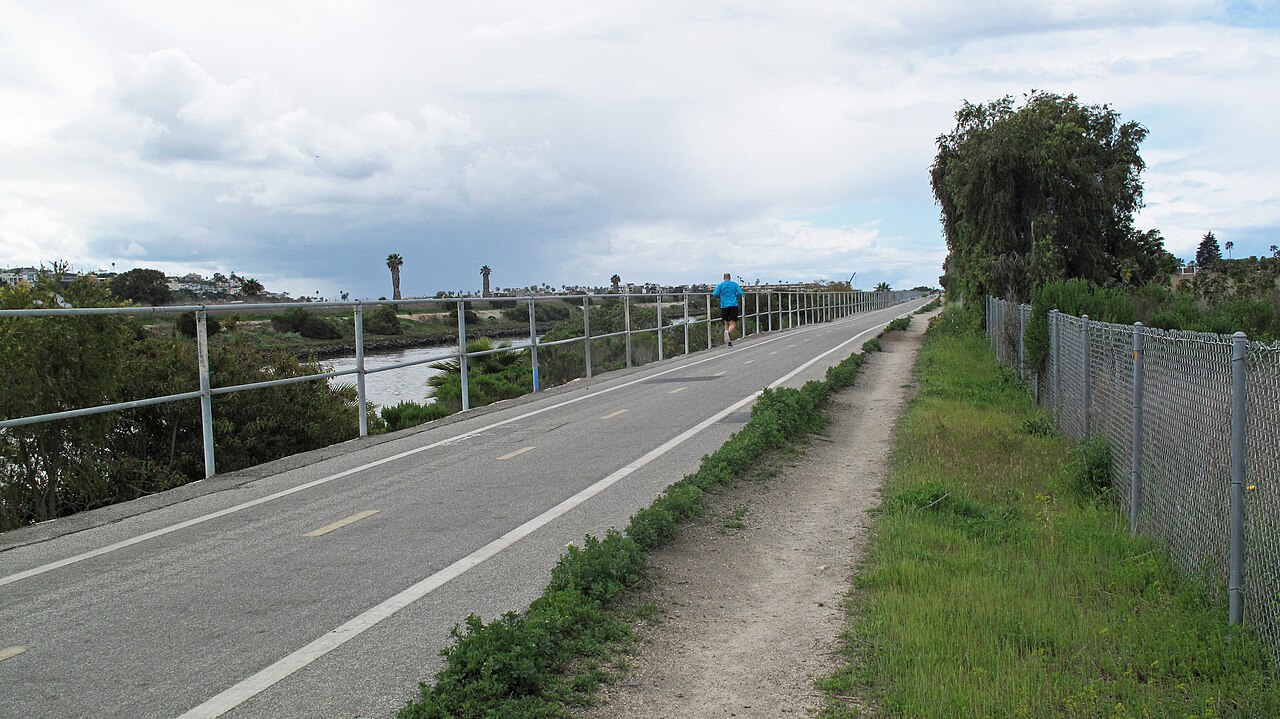
Ballona Creek to the coast
Culver City / Marina del Rey
Moderate
Follow the creek downstream for a change of scene at the coast.
Paved channel path · exposed to wind
Explore the rideA prepared trail outing / Claremont
Climbing, open hills and a full return loop.
A proper hill outing for a day when climbing and a wide view matter more than an easy distance.
See all 2 photographs See the path, the setting and the stops. These are archival photos; dates and context are shown below. Photographers, dates & licenses
Your starting point
Claremont Hills: Cobal trail entrance above Mills Avenue — join the path at the mapped point. Street, parking and rental approaches are separate. The track returns here.
Exact GPX start. The pin is not a verified parking space, rental counter or approach route.
The ride
A proper hill outing for a day when climbing and a wide view matter more than an easy distance.
Start at the Wilderness Park entrance area at the north end of Mills Avenue and follow the mapped fire-road loop. The park is a shared recreation space rather than a dedicated mountain-bike circuit. The mapped loop follows the Cobal, Johnson Pasture and Burbank fire-road network. Its entrance and parking arrangements are separate questions: check the current city information for your arrival and leave enough time to get back before the seasonal closing hour.
The climbing is the main commitment of this outing. A relatively compact distance does not make it a beginner ride, and descending loose ground takes deliberate braking and attention. Give pedestrians and horses priority, control your speed around bends and use the designated route. Side trails or tempting shortcuts outside the mapped fire roads are not part of this plan.
Carry all the water you need and check weather-related access notices before driving over. A warm, exposed climb can demand much more time than a simple distance calculation suggests. This guide covers the selected loop only; do not add side trails or continue to a different trailhead. If conditions exceed your ability, turn back by an allowed route rather than forcing the full circuit.
Know the shape of your day
Ground elevation is the lowest-to-highest sampled terrain, not total climbing gain. Access, surface and traffic are not live-verified.
Editorial route assessment
Short mileage can conceal hard climbing. Carry water and leave margin before the gates close.
Relative to this route collection, not a certified trail grade. No safety or opening guarantee. How we assess difficulty.
Does this fit your day?Know where you are going
Loading the route map...
Planned route Waypoints PlacesReport a map issue
Terrain at a glance
One complete loop. The vertical scale varies by route: compare the numbers, not just the shape. USGS NED ground model via OpenTopoData, about 10 m resolution; not a surveyed riding surface or a climbing-gain measurement.
Shop approaches and walking detours are not included. This is a planned track, not a recorded or field-verified ride.
Make time for the stops
On the mapped route. Planned, not field-ridden.
Waypoint on Google MapsOn the mapped route. Planned, not field-ridden.
Waypoint on Google MapsFollow the mapped loop back to the start. The downloaded track includes the return to the start.
Food & a place to pause
Choose a permitted place completely off the riding line for your break. No exact on-track cafe has been verified for this new guide; bring your own drink and snack rather than depending on a business being open.
Bring water, a snack, a charged phone and puncture supplies. No open cafe, working water fountain or available rental at the start is guaranteed by this guide. Check the official visitor information for facility hours.
No cafe pin is shown because an exact suitable stop has not been verified. This is a supply-planning limitation, not a claim that no cafes exist nearby.
Places, surfaces & useful landmarks
Archival photographs, not current conditions. Viewpoints and off-track stops are identified below; they do not prove today's access.
Photo coverage is limited. These archival views do not document every junction or the complete riding surface. Use the route map and current signs for navigation.
A January 2012 view of the winding fire roads within Claremont Hills Wilderness Park. It shows the hilly setting rather than identifying every section as the downloaded loop.
Brian Altmeyer , 2012. CC BY 2.0 .
The folded hills of Claremont Hills Wilderness Park in January 2012. The view explains the climbing setting; it is not a field check of the route surface.
Brian Altmeyer , 2012. CC BY 2.0 .
The useful details
Claremont Hills: Cobal trail entrance above Mills Avenue — join the path at the mapped point. Street, parking and rental approaches are separate. The track returns here.
Use a suitable mountain bike, check brakes and tires, and be prepared to walk difficult sections.
Check seasonal hours, parking rules and weather closures. A mountain bike, climbing fitness and controlled descending are needed.
Allow up to 180 minutes for the outing, plus travel and bike collection. This is a planning estimate, not a recorded ride time.
Bring water, a snack, a charged phone and puncture supplies. No open cafe, working water fountain or available rental at the start is guaranteed by this guide. Check the official visitor information for facility hours.
Bring a suitable bike. A rental in the same area may not match this route or its start.
Explore the rental directoryTake the route with you
Claremont Hills Wilderness loop / 5.0 mi / one loop
GPX 1.1 with 360 track points and named places.
Planned geometry, without fabricated ride times or elevation readings.
A few things worth knowing
No. It is a planned track assembled from connected OpenStreetMap roads and bicycle-permitted paths. Each file is a full loop or an out-and-back, with named waypoints. We have not field-ridden it or checked same-day closures.
The measured map geometry for one complete described outing, returning to the selected start. Rental-shop approaches, walking detours and extra laps are excluded. GPS devices may calculate a slightly different distance.
These guides are for ordinary pedal bicycles. Check the exact bicycle class, local jurisdiction, park rules and posted signs; permissions differ by location and trail. An e-bike rental offer is not proof that a route allows it.
No. Check the official access links on the guide before leaving. A closure, flood warning or posted restriction overrides the download; never bypass a barrier to follow a track.
Water, sun protection, a helmet, a lock, a charged phone and the downloaded track. Check brakes and tire pressure. Allow extra time for collecting and returning a rental.
Reader comments, reviewed before publication. They are not verified access reports; check dates and current signs.
Loading ride notes…
Paste the removal code shown after you sent your note. It works before or after publication.
Another way to spend the day
Culver City / Marina del Rey
Moderate
Follow the creek downstream for a change of scene at the coast.
Paved channel path · exposed to wind
Explore the rideFrogtown / Griffith Park edge
Moderate
River views, bridges and the option of a coffee stop.
Longer out-and-back · stay above the river channel
Explore the rideHillside view; dirt trails are outside this ride
Griffith Park
Demanding
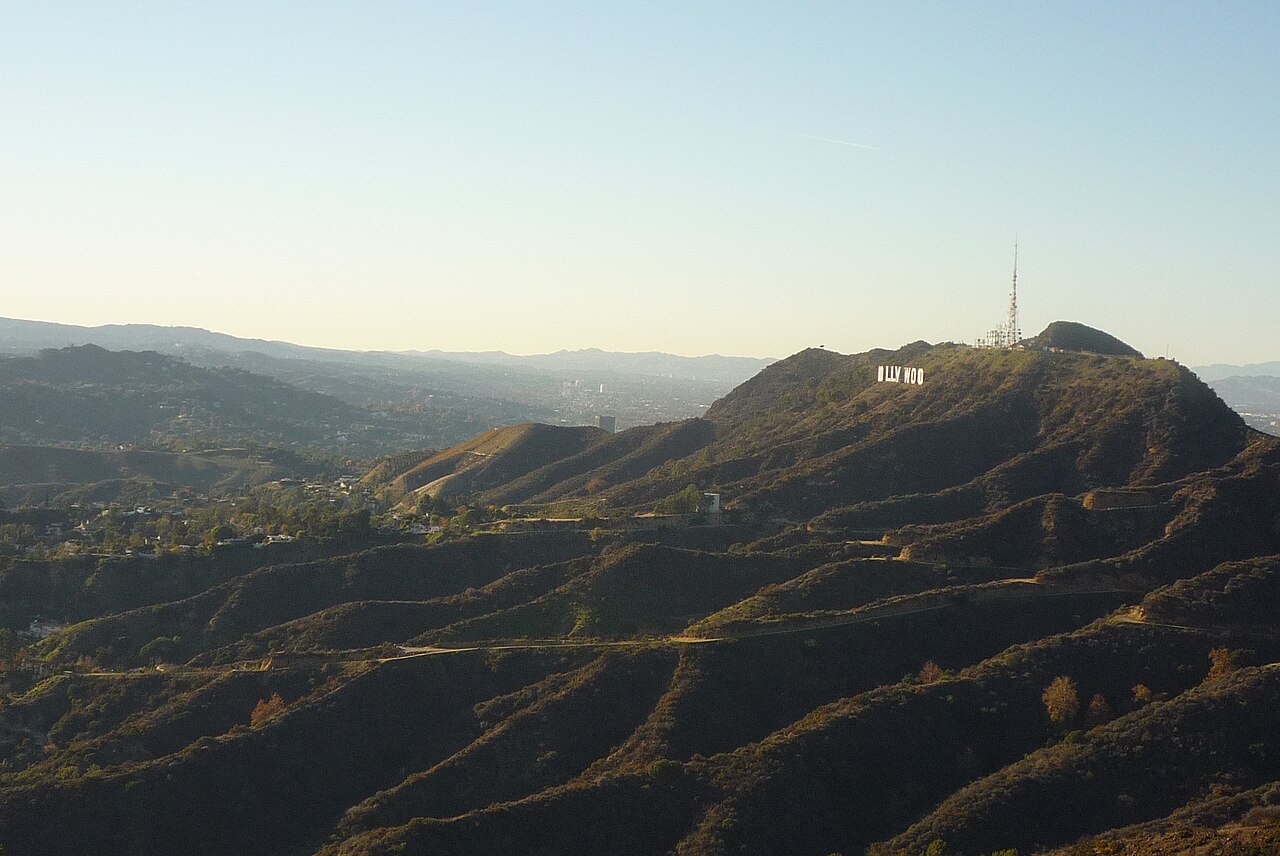
A hill day with views across Griffith Park and the city.
Paved climbing · confident descending needed
Explore the ride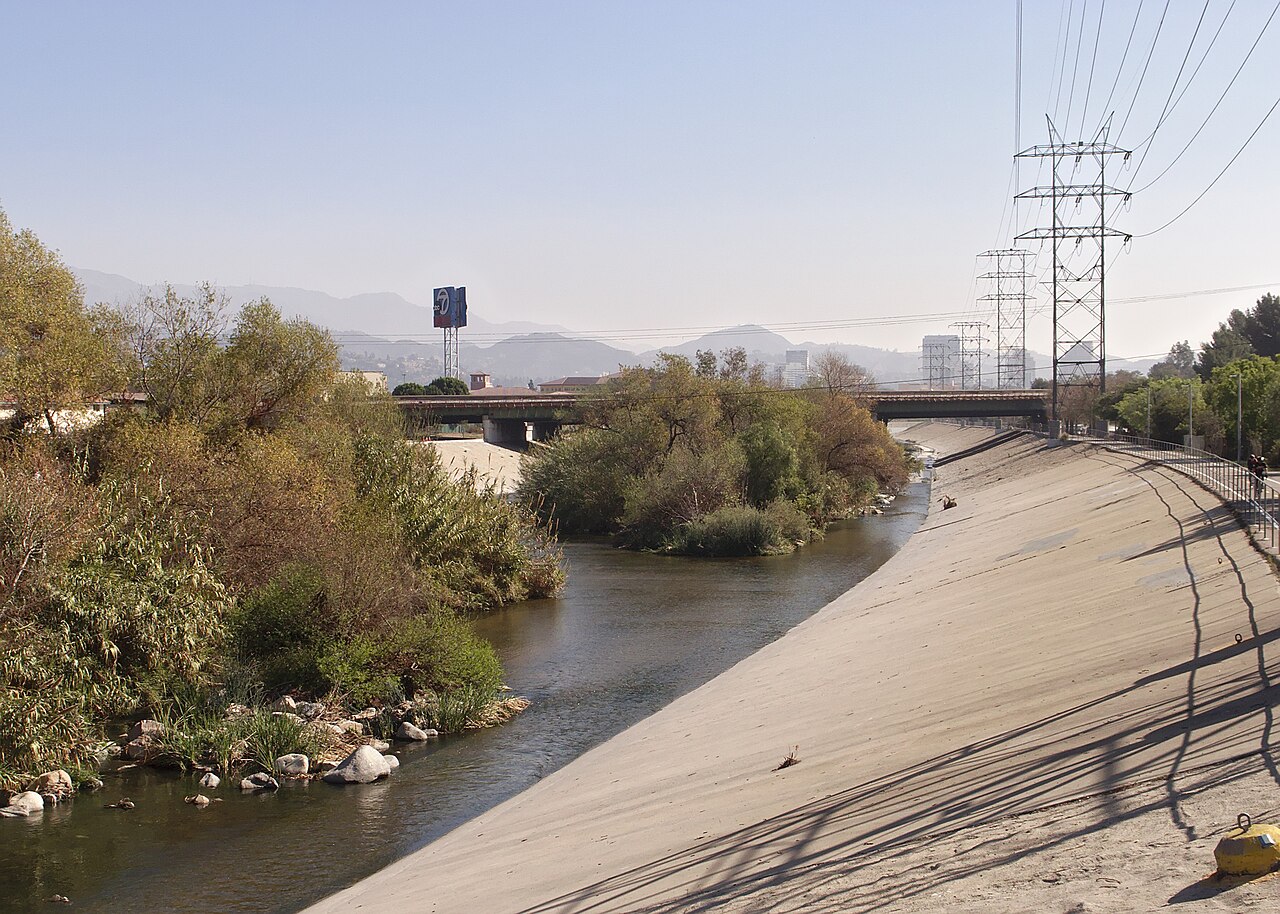


A little local knowledge helps
Questions & ride notes.
Planning this ride, or just got back? Tell us what was confusing, what changed, or what helped. A small detail can make someone else’s day easier.