
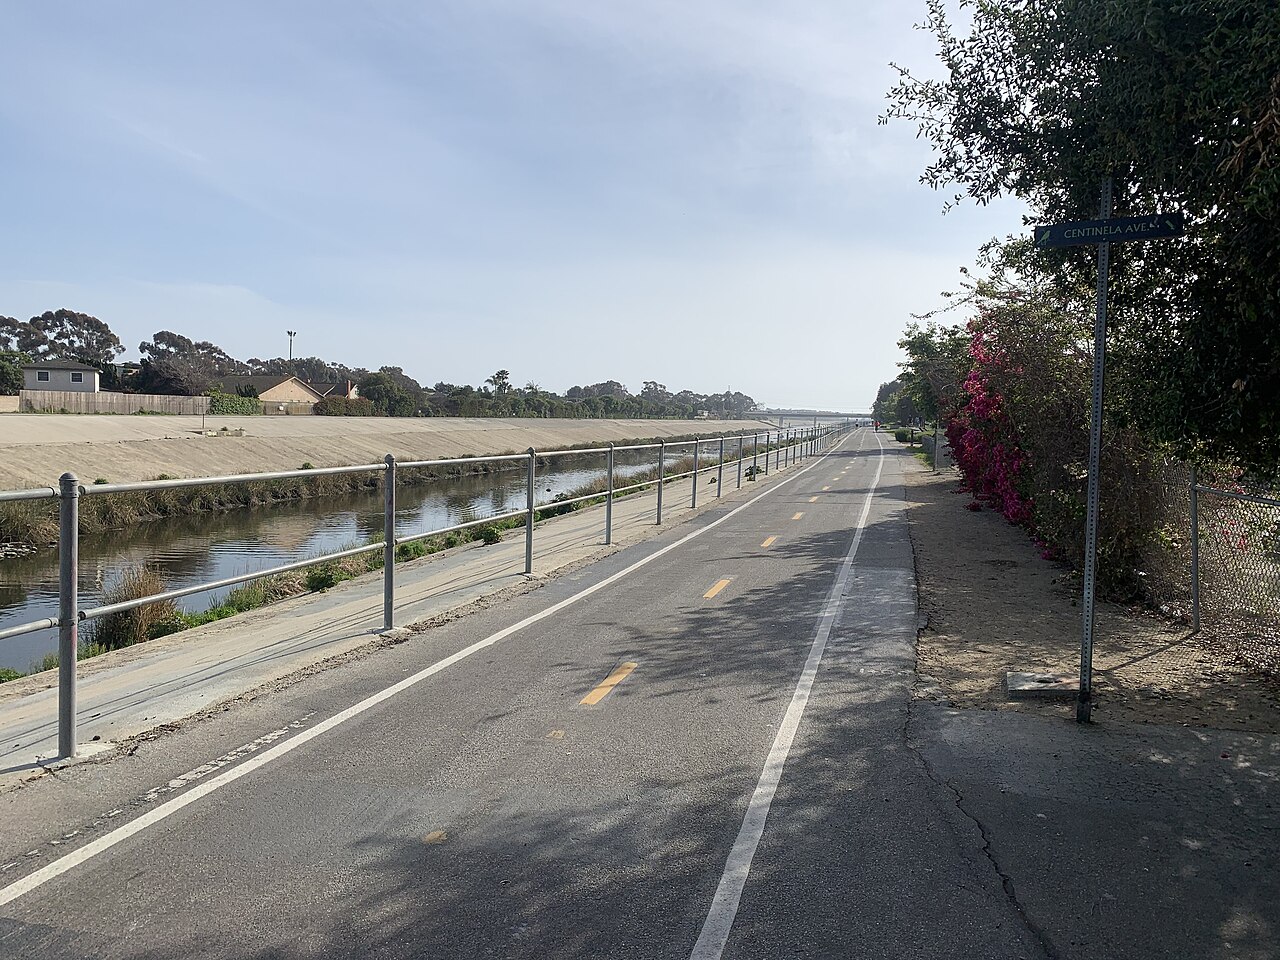
Ballona Creek to the coast
Culver City / Marina del Rey / Steady / paved
From the city channel to sea air. A river corridor, not a beach promenade.
Explore the rideA paved hill workout / Griffith Park
Paved climbing & wide city views.
All 2 photographs Real places, archival photography. Photographers, dates & licenses
Know the shape of your day
Ground elevation is the lowest-to-highest sampled terrain, not total climbing gain. Access, surface and traffic are not live-verified.
The ride
This is the hill option, not a cruiser outing with a scenic label. From the Griffith Park Drive gate near Travel Town, climb onto Mount Hollywood Drive, continue to its southern road endpoint and return. The full out-and-back includes a descent followed by another climb on the way home. Choose it for the effort and the views, with enough daylight and energy in reserve.
Start at the mapped gate on Griffith Park Drive near Travel Town, not inside the railway museum. Follow the paved road uphill to the Mount Hollywood Drive junction and keep to the mapped road. A closed vehicle gate is not a reason to ignore a park closure: check signs and the official park notices before entering.
Mount Hollywood Drive winds through the hills, with walking and equestrian activity nearby. The track uses roads mapped for bicycle access, not the hiking trails to Mount Hollywood summit. Watch for loose material and damaged pavement, control downhill speed, and leave enough space to pass other users calmly. Do not turn onto a dirt trail because it appears to be a shortcut.
The southern turnaround is the road endpoint before joining the Observatory-area street network. Neither an Observatory visit nor the Hollywood Sign is part of this file. Returning means regaining height before the final descent to Travel Town. If the early climb feels beyond your group, turn back on the same road instead of committing to the full distance.
Know where you are going
Loading the route map...
Planned route Landmarks Coffee & restReport a map issue
Terrain at a glance
The dashed line marks the turnaround. The vertical scale varies by route: compare the numbers, not just the shape. USGS NED ground model via OpenTopoData, about 10 m resolution; not a surveyed riding surface or a climbing-gain measurement.
Make time for the stops
Start near Travel Town on the paved road. Obey park closures and signs.
Waypoint on Google MapsTake the paved Mount Hollywood Drive connection, not a dirt hiking trail.
Waypoint on Google MapsRemain on Mount Hollywood Drive; Vista del Valle is not part of this file.
Waypoint on Google MapsTurn before joining the Observatory-area streets. The return includes climbing.
Waypoint on Google MapsRetrace Mount Hollywood Drive and Griffith Park Drive; the return includes uphill riding. The downloaded track includes the return to the start.
Food & a place to pause
Bring your own drink and snack. Pause only on a suitable clear roadside pull-off; no hilltop cafe or serviced stop is promised.
No cafe, drinking-water refill or open restroom is verified on the climbing section. Bring supplies. The archival gallery shows views from near the mapped road, not a current pavement inspection.
No cafe pin is shown because an exact suitable stop has not been verified. This is a supply-planning limitation, not a claim that no cafes exist nearby.
Places, surfaces & useful landmarks
Archival photographs, not current conditions. Viewpoints and off-track stops are identified below; they do not prove today's access.
A view across the hills near Mount Hollywood Drive. The dirt trails visible below are not this paved cycling route.
Sergei Gussev , 2016. CC BY 2.0 .
The north-facing hillside offers views toward Burbank. Stop clear of the road; this is a view from near the climb, not a destination in the city below.
Junkyardsparkle , 2015. CC0 .
The useful details
Griffith Park Drive gate near Travel Town. Check legal parking and the separate approach to the gate.
A geared bike with dependable brakes. This is not a recommended first ride on a single-speed beach cruiser.
Carry all your water. Check park closures, fire restrictions and weather; exposed hill riding needs a different plan from a beach outing.
Allow more time than distance alone suggests. Stop for photos off the road, and keep enough energy for the return climb.
No cafe, drinking-water refill or open restroom is verified on the climbing section. Bring supplies. The archival gallery shows views from near the mapped road, not a current pavement inspection.
Bring a suitable bike. Our Santa Monica rental comparison does not cover this inland start.
Take the route with you
Mount Hollywood Drive / 9.9 mi / out & back
GPX 1.1 with 1075 track points and named places.
Planned geometry, without fabricated ride times or elevation readings.
A few things worth knowing
No. It is a planned track assembled from connected OpenStreetMap roads and bicycle-permitted paths. Each file is a full loop or an out-and-back, with named waypoints. We have not field-ridden it or checked same-day closures.
The measured map geometry for one complete described outing, returning to the selected start. Rental-shop approaches, walking detours and extra laps are excluded. GPS devices may calculate a slightly different distance.
These guides are for ordinary pedal bicycles. Check the exact bicycle class, local jurisdiction, park rules and posted signs; permissions differ by location and trail. An e-bike rental offer is not proof that a route allows it.
No. Check the official access links on the guide before leaving. A closure, flood warning or posted restriction overrides the download; never bypass a barrier to follow a track.
Water, sun protection, a helmet, a lock, a charged phone and the downloaded track. Check brakes and tire pressure. Allow extra time for collecting and returning a rental.
Another way to spend the day
Culver City / Marina del Rey / Steady / paved
From the city channel to sea air. A river corridor, not a beach promenade.
Explore the rideFrogtown / Griffith Park edge / Steady / longer
The greener face of the LA River. River views, bridges & a bicycle cafe.
Explore the ridePasadena / Short / road confidence
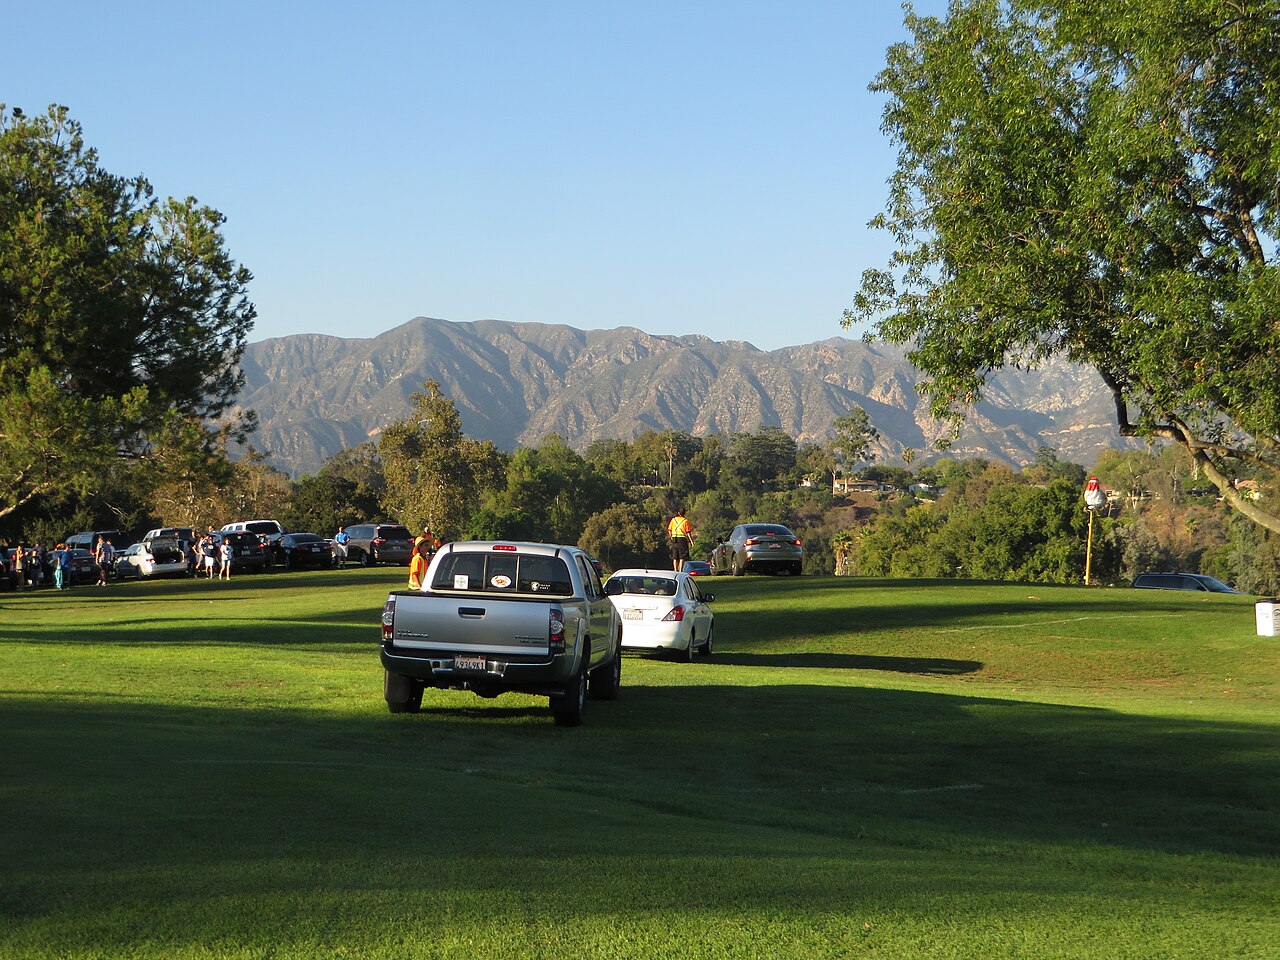
A repeatable lap, not a closed circuit. A compact Pasadena workout.
Explore the ride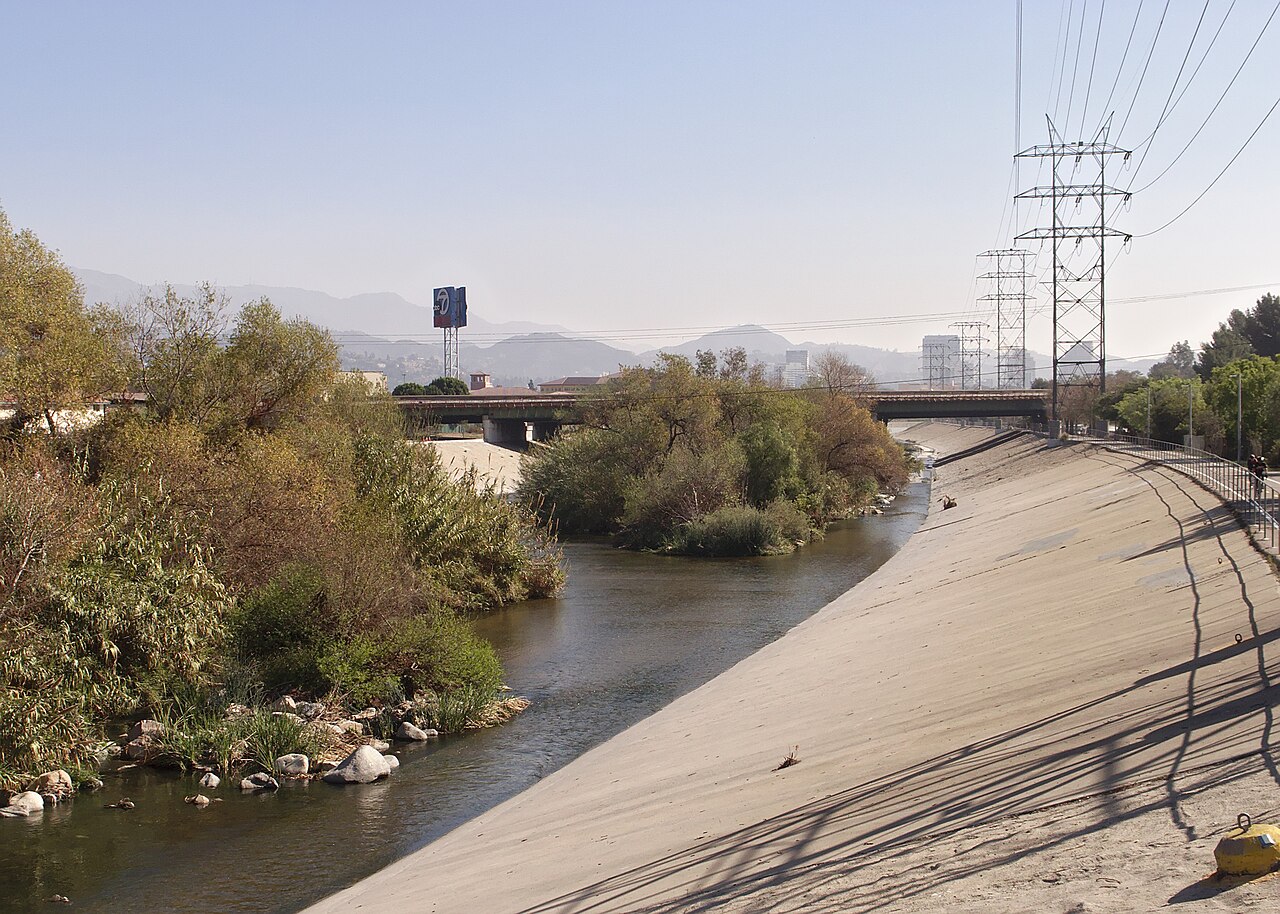
.jpg)
